Tuesday, February 28, 2012

Psalm 46


"God is our refuge and strength,
an ever-present help in trouble.
Therefore we will not fear, though the earth give way
and the mountains fall into the heart of the sea,
though its waters roar and foam
and the mountains quake with their surging.

There is a river whose streams make glad the city of God,
the holy place where the Most High dwells.
God is within her, she will not fall;
God will help her at break of day.
Nations are in uproar, kingdoms fall;
he lifts his voice, the earth melts.

The Lord Almighty is with us;
the God of Jacob is our fortress.

Come and see what the Lord has done,
the desolations he has brought on the earth.
He makes wars cease
to the ends of the earth.
He breaks the bow and shatters the spear;
he burns the shields with fire.
He says, “Be still, and know that I am God;
I will be exalted among the nations,
I will be exalted in the earth.”

The Lord Almighty is with us;
the God of Jacob is our fortress."

Thursday, February 23, 2012

DIY: Washer & Ribbon Necklace


I've been seeing this necklace on Pinterest a lot lately and it sparked my interest. It only takes two supplies to make; metal washers and grosgrain ribbon, both of which I had already, so I decided to give it a whirl. I wore it yesterday and really loved it! Here's a quick tutorial:


You will need:
20 - 30 1" metal washers (I used 24. Use more or less to make it the length you want.)
5/8" wide grosgrain ribbon, about 1 yard (or more, depending on your desired length of your necklace)

Step 1:
Thread your ribbon up through washer #1, leaving enough ribbon on the end to tie the necklace when it's finished.

Step 2:
Thread the ribbon down through the top of washer #2.

Step 3:
Thread the ribbon back down through washer #1.

Step 4:
Pull the ribbon tight, so washer #2 is laying flat on top of washer #1.

Step 5:
Thread the ribbon back up through washer #2.

Step 6: 
Repeat steps 2 through 5 for each additional washer. Once you've threaded all your washers onto the ribbon, tie the two ends of the ribbon together and trim off the excess. Finished! Easy, right?

Don't forget to check out my handmade jewelry shop on Etsy, Nestled! Here's a peek at my collection:

Tuesday, February 21, 2012

Frames


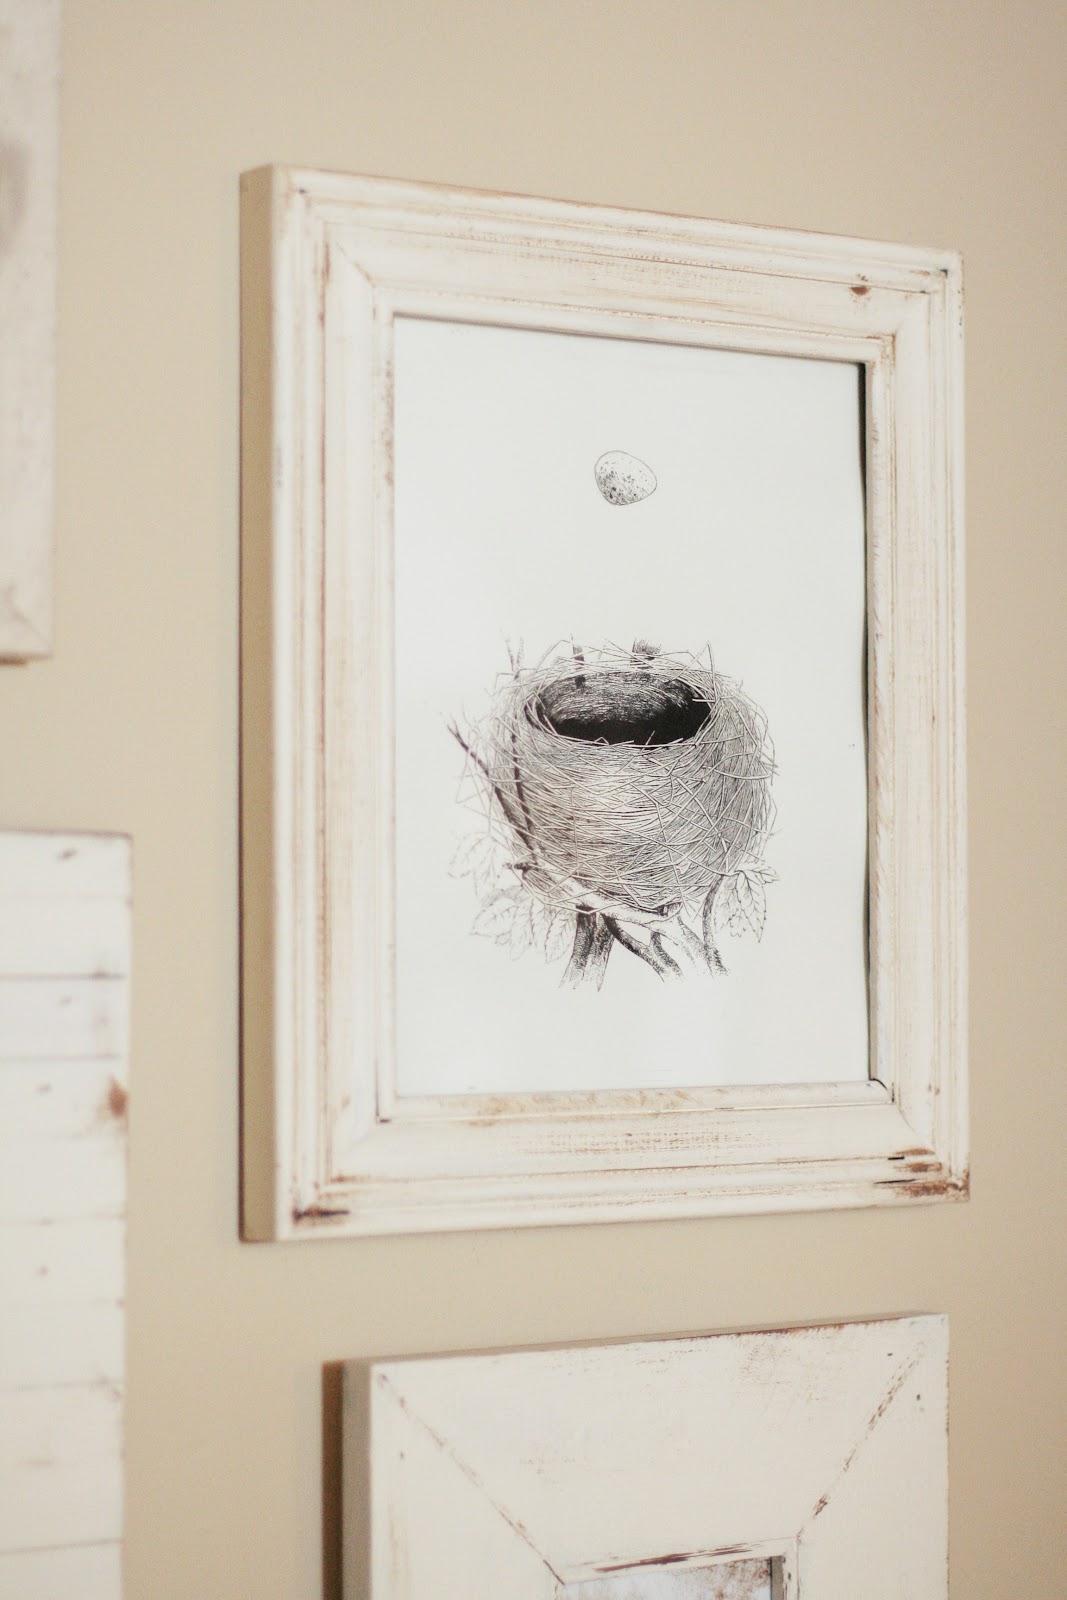
I've had a box of picture frames sitting in our laundry room for the past year, and just last week I finally decided it was time they go up somewhere. Funny how the little tasks that take hardly any effort are the ones that always take the longest to get finished. I hung these on an empty wall in our bedroom. It only took about 10 minutes... well, one year and 10 minutes.


I used some of the leftover chalkboard paint I had from this project and made one of the picture frames into a small chalkboard. Chalkboard paint can be used on glass, so this could be done easily with any picture frame.


Instead of using photos in all of the frames, I printed off some graphics from The Graphics Fairy. They have hundreds (maybe thousands?) of vintage art graphics that you can print for free right at home. It's really great!

Now if you'll excuse me, there's some Girl Scout thin mint cookies calling my name. Yes, cookies before 10 a.m. Don't judge.

Monday, February 20, 2012

A little bling on the ring


There's nothing like a sparkly purple manicure to start the week off on the right foot... or should I say finger? :) Today I'm wearing two Essie colors - Bahama Mama as the base color, and A Cut Above on my ring fingers. Happy Monday!

Friday, February 17, 2012

DIY: Beaded Bib Necklace


I recently came across a tutorial for making this necklace on Pinterest and wanted to give it a try. I've never made any kind of jewelry before, but the instructions were fairly simple and easy to follow. The necklace turned out pretty good, so I thought I would share it on here so you can make your own. 

Here's what you will need:
Round beads (if I counted right, I used 118 beads)
Nylon-coated beading wire
Metal crimps
Needle-nose pliers
Ribbon

Step 1: Make Center Piece
Cut an 18-inch length of nylon-coated beading wire. String 12 beads onto the middle of wire, and thread opposite end through last bead to make the bottom circle. For middle circle, string 5 beads onto each end. Add 1 more, and thread opposite end through it. For top circle, string 5 beads onto each end. Add 1 more bead and a metal crimp, and thread opposite end through each. Close crimp with needle-nose pliers; trim ends.


Step 2: Make Right and Left Pieces
 Cut a 55-inch length of wire. String 7 beads onto the middle of wire, then loop in far-right bead of center piece's middle circle. Add 3 more beads to left end, and thread opposite end through last bead to make bottom circle. For second circle, add 5 beads to right end. Add 2 beads to left end, then loop in far-right bead of top-center circle. Add 3 more beads to left end, and thread opposite end through last bead. For third circle, thread 5 beads onto each end. Add 1 more, and thread opposite end through it. Repeat to add more circles to reach nape of neck, and close final circle with a crimp. To make the left piece, follow steps above.


Once you have all the beading completed, simply tie on some ribbon and you're finished! Obviously you don't have to use yellow beads like I did; you can use any color(s) that tickle your fancy.


This project has really wet my appetite for jewelry-making. It's fun and easy, and the possibilities are virtually endless. Be on the look-out for more in the future!